How Is a Professional Graffiti Mural Made? A Step-by-Step Guide
From wall preparation to scaling the design, from choosing materials to painting — we walk you through the stages of a professional graffiti mural.
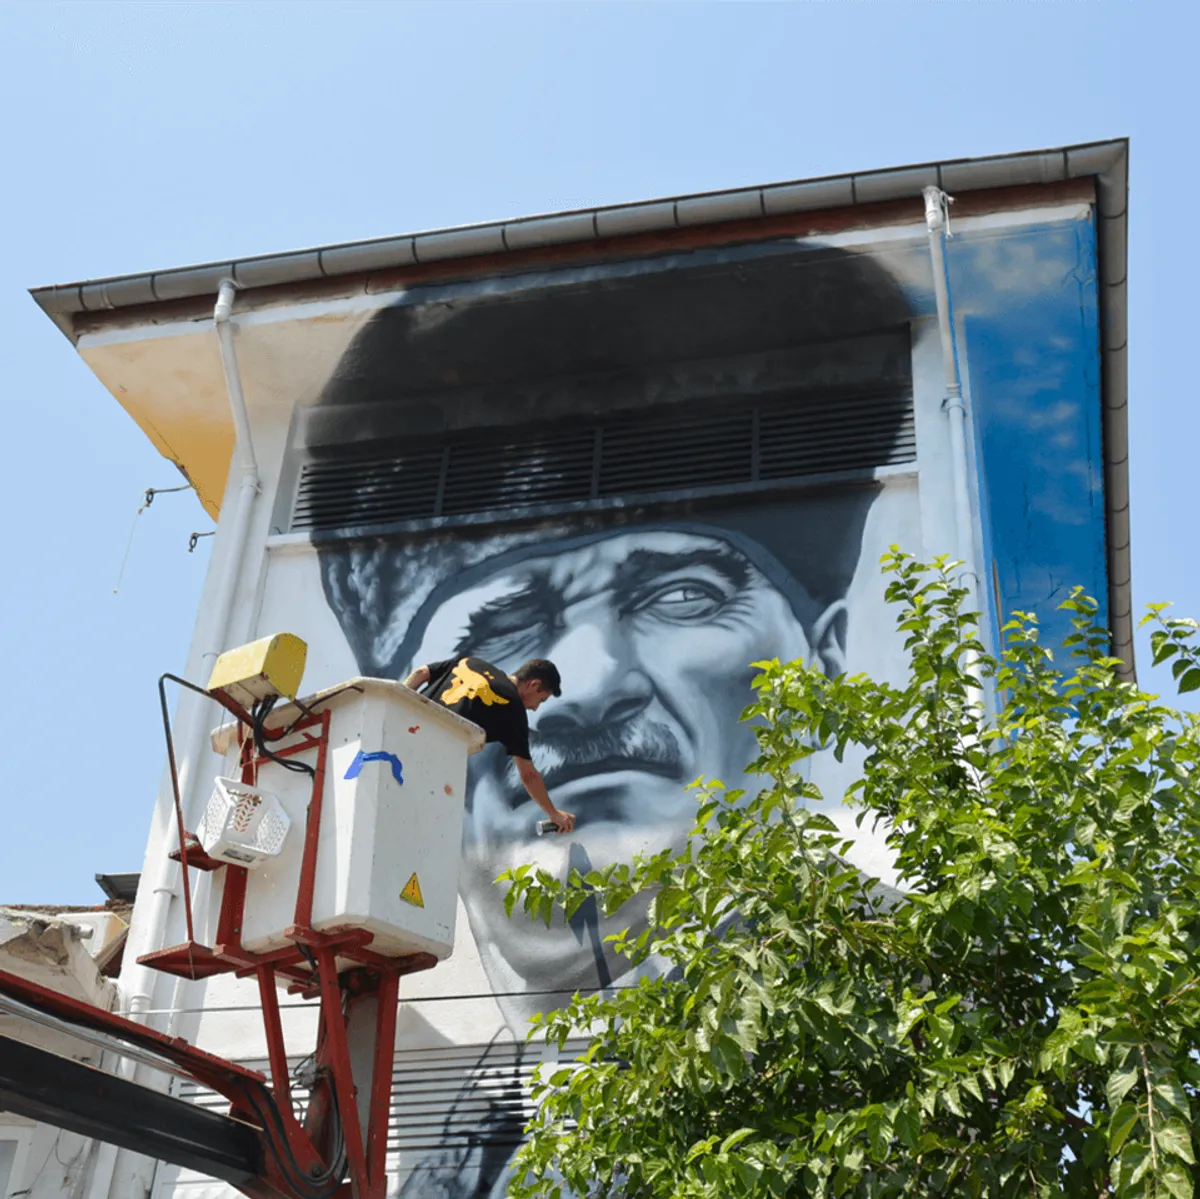
A professional graffiti mural is about much more than paint and spray cans; it is a process that requires thorough preparation, accurate scaling and the right choice of materials. Here is a step-by-step guide.
1. Preparing the Wall
A good result starts with a solid surface. Loose plaster is removed, damage is repaired, the wall is damp-proofed and a suitable primer is applied. Skip this step and even the most beautiful design will deteriorate over time.
2. Scaling the Design
The approved design is transferred to the wall in the correct proportions, using either a projector or the classic grid technique. Accurate scaling makes sure the artwork looks proportional from every angle.
3. Choosing the Materials
- Outdoors: UV- and weather-resistant acrylic and spray paints
- Indoors: Low-odor, water-based acrylic paints
The type of surface (concrete, wood, metal) and the location of the space determine which materials are used.
4. Painting and Protection
The work is built up in layers, with the details saved for last. The finished piece can be sealed with a protective varnish to extend its life.
A mural made by a professional team with experience and the right materials keeps its first-day vibrancy for years.